How to Organize Your Kitchen Pantry: A Complete Step-by-Step Guide
A cluttered pantry wastes food, time, and mental energy. This step-by-step guide walks you through a pantry organization system that stays clean for months — not just hours.
By HomeLogicWorld Editorial
Updated September 16, 2026
Why Most Pantry Organization Fails
The biggest mistake people make when organizing a pantry is buying storage containers before they understand how they actually use the space. You end up with beautiful bins full of things you never reach for, while the items you use daily get shoved to the back.
A well-organized pantry starts with a system built around your real cooking habits — not a magazine photo.
Step 1: Empty and Audit Your Pantry
Pull everything out. All of it. This sounds extreme, but it is the only way to see what you actually have. As you empty the shelves:
Check expiration dates and discard anything past its date
Group similar items together on the counter: grains, canned goods, snacks, baking supplies, sauces, oils
Note duplicates — buying a second can of something you already have is a common result of poor pantry visibility
Most households find they have 20–30% less usable food than they thought, simply because items were hidden or expired.
Step 2: Define Your Zones
Every effective pantry works on a zone system. Items are grouped by use, not by type, and placed according to how often you reach for them.
Primary zone (eye level and directly reachable): Items you use multiple times a week. Cooking oils, everyday spices, pasta, canned tomatoes, coffee, tea.
Secondary zone (upper shelves): Items used weekly but not daily. Baking supplies, specialty grains, less-used canned goods.
Tertiary zone (lower shelves or floor): Bulk items, drinks, appliances you use occasionally.
Step 3: Standardize Your Containers
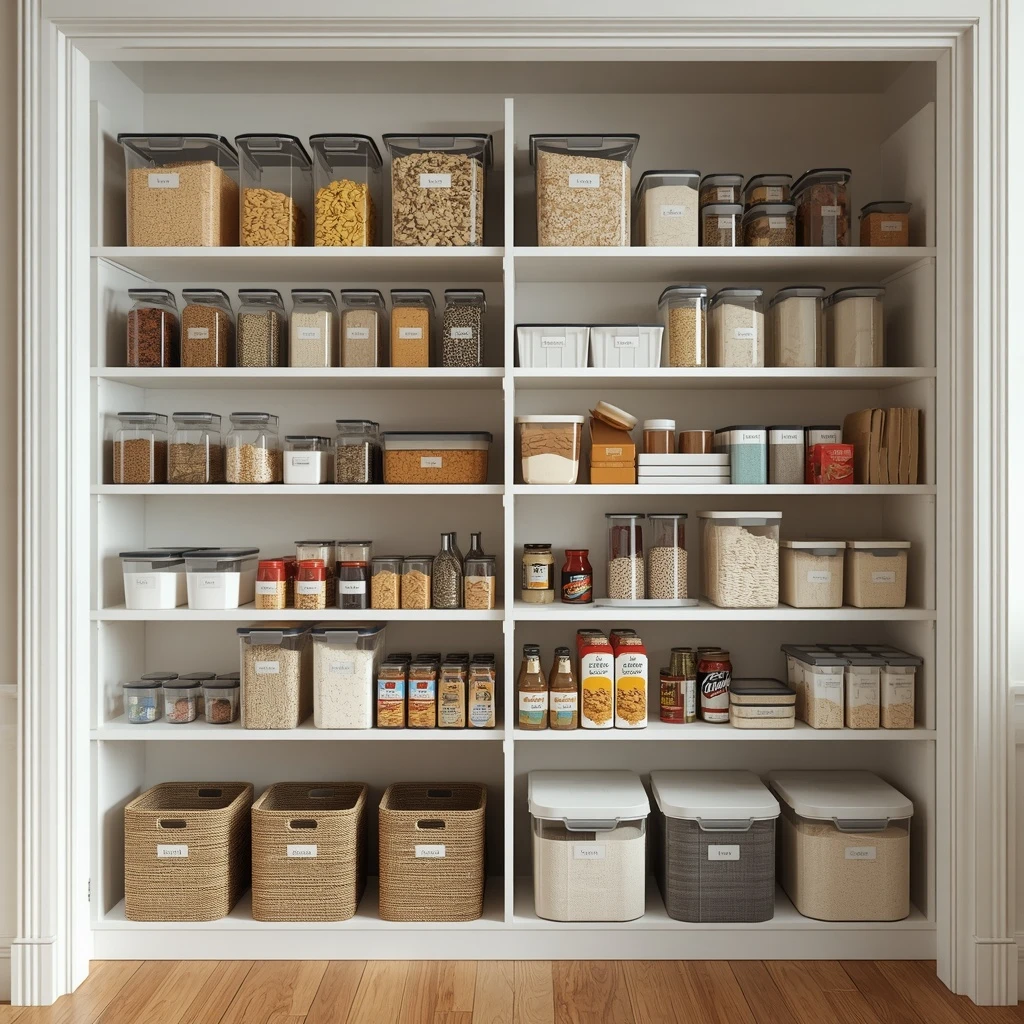
Standardization is what makes a pantry stay organized. When all your dry-goods containers are the same shape and size, they stack cleanly, you can see exactly how much you have left, and restocking becomes automatic.
Key decisions to make before buying containers:
Material: Clear containers let you see contents at a glance without opening them
Shape: Square and rectangular containers use shelf space more efficiently than round ones
Size: Match container size to how you buy the product — a 1.5L container for a standard bag of rice, for example
Lids: Airtight lids keep dry goods fresh longer and prevent pantry pests
You do not need to containerize everything. Canned goods, bottles, and sealed bags often work fine as-is. Focus your container budget on dry goods that transfer well: flour, sugar, pasta, rice, oats, nuts, cereals.
Step 4: Label Everything
Labels seem optional until you live with an unlabeled pantry for a week. Without labels, containers become mystery bins that nobody in the household can maintain.
A simple label system includes: the item name and, for dry goods, the date you filled the container. This is especially useful for flours and spices, which have shorter shelf lives than most people assume.
Step 5: Optimize Shelf Space
Most pantry shelves are spaced for tall cereal boxes, leaving wasted vertical space above shorter items. Two simple fixes:
Shelf risers: Stackable risers let you create a second level on a single shelf, effectively doubling your storage without adding shelves.
Door organizers: The inside of your pantry door is often completely unused. Door-mounted racks work well for spices, small jars, foil, and wrap.
Step 6: Establish a Restocking Routine
Organization that does not include a maintenance system degrades quickly. Before each grocery trip:
Do a 2-minute pantry check — note what is running low
When you return from shopping, put new items behind old ones (FIFO: first in, first out)
Once a month, do a quick expiration scan and wipe down shelves
This routine takes less than five minutes and is the difference between a pantry that works and one that slowly returns to chaos.
Common Pantry Organization Mistakes to Avoid
Buying storage before sorting: Measure and categorize first, then shop for storage
Over-organizing: A system with too many categories is harder to maintain than a simple one
Ignoring the door: Door space can hold 15–20% of your pantry capacity
Using opaque containers: You will stop using what you cannot see
Not accounting for refills: Leave room in containers for a full bag or can, not just what you currently have
Summary: The Four Rules of a Functional Pantry
Visibility: you should be able to see every item without moving anything else
Accessibility: the things you use most are the easiest to reach
Consistency: same zones, same containers, same labels, every time
Maintenance: a simple weekly routine keeps the system alive
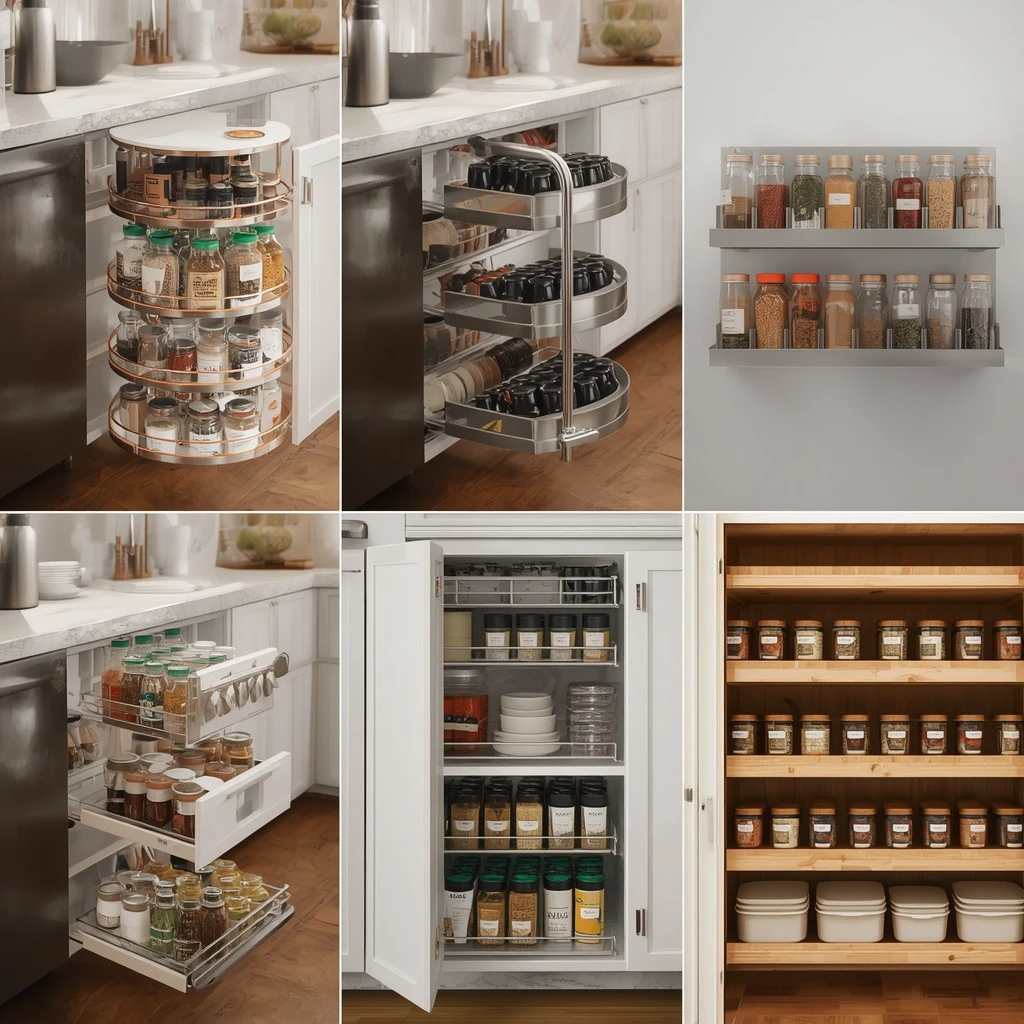
Spice organization sounds simple until you have 40 jars and no space. We break down the six most popular spice storage methods, rank them honestly, and tell you which type of kitchen each one suits best.
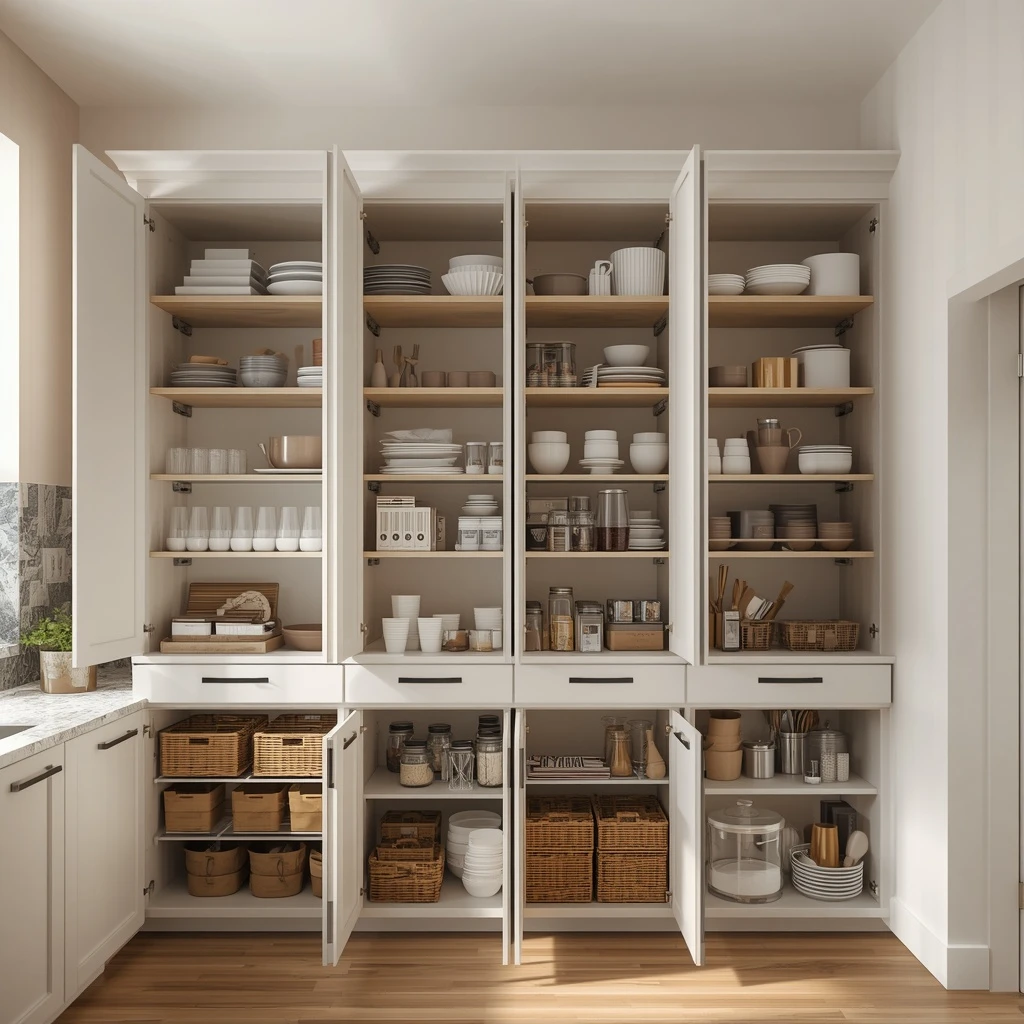
Cluttered kitchen cabinets make cooking harder than it needs to be. This guide walks you through a practical system to declutter, sort, and organize every cabinet in your kitchen — and keep it that way.